How to Hem Leggings at Home Without Ruining the Stretch
Quick Answer: Hem leggings with a stitch that stretches: a narrow zigzag, a twin needle, or a stretch stitch on a home machine, using a ballpoint or stretch needle and polyester thread. A straight stitch will break because it has no give. For a no-sew option, fusible stretch hem tape works well on lighter fabrics. Cut with about 1 inch of allowance, and always test on the offcut before touching the actual hem.
This is one of the few alterations genuinely worth doing at home, because leggings are almost always too long or too short and a tailor charges $15 to $25 for ten minutes of work. The only thing standing in your way is knowing which stitch to use.

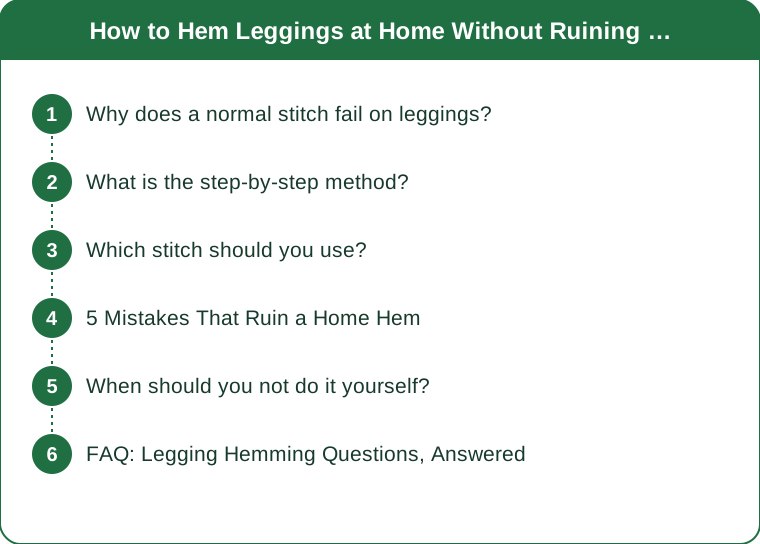
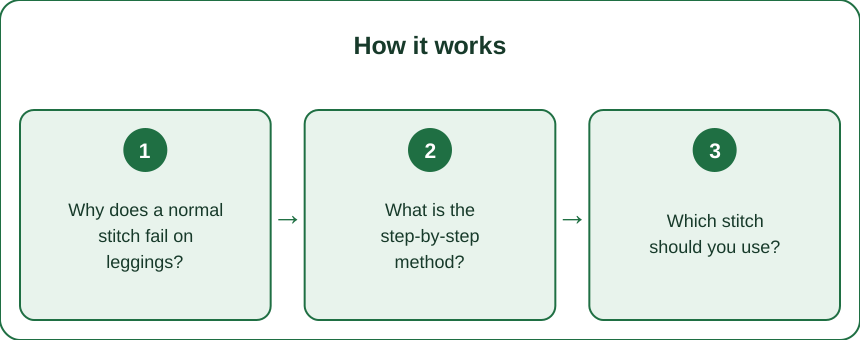
Why does a normal stitch fail on leggings?
Because a straight stitch has zero elasticity and the fabric has a great deal.
When you stretch a legging, the fabric extends by 30 to 60 percent. A straight-stitched seam cannot extend at all, so the thread takes the entire load and snaps — usually at the widest point of the stretch, which for a hem is your calf during a squat or a stair.
The solution is a stitch that has built-in length to give. A zigzag stitch travels a longer path than the distance it covers, so when the fabric stretches, the zigzag straightens out rather than breaking.
The needle matters just as much. A standard sharp needle pierces the knit fibers and can create small runs that spread with wear. A ballpoint or stretch needle pushes between the fibers instead of cutting them.
Thread choice is the third piece: polyester has a small amount of natural give and recovers well. Cotton thread has almost none and is the wrong choice for any stretch garment.
What is the step-by-step method?
Eight steps, about 30 minutes for a first attempt.
1. Try them on with the shoes you will wear. Hem height changes completely between a sneaker and a boot. Mark the desired length with a pin or chalk while wearing them.
2. Add 1 inch below the mark for the fold. That gives a 1 inch hem allowance, which is standard for a legging.
3. Cut both legs together. Lay them flat, match the existing hems exactly, and cut through both at once so the lengths match. Uneven legs are the most common home-hemming error.
4. Fold up 1 inch and press lightly. Use low heat and a pressing cloth — many technical fabrics melt. If unsure, pin instead of pressing.
5. Pin every 2 inches, or use clips, which do not leave holes in the fabric.
6. Test your stitch on the offcut. Sew a line, then stretch it hard. If the thread breaks, adjust before touching the garment. This step is not optional and it is the one people skip.
7. Sew with the fabric supported, not pulled. Let the machine feed it. Pulling stretches the fabric under the needle and creates a wavy hem that will not lie flat.
8. Trim excess and press lightly.
Which stitch should you use?
Four options, best to most accessible.
Twin needle. Produces two parallel rows on the front and a zigzag underneath — this is what commercial hems look like. It is the most professional result available on a home machine, and twin needles cost $6 to $10. Needs a machine with two thread spool positions.
Narrow zigzag. Width around 1mm to 2mm, length around 2.5mm. Nearly invisible in wear, holds well, and works on any machine that zigzags. This is the best default for most people.
Built-in stretch stitch. Many machines have a lightning-bolt symbol stitch designed exactly for this. Slower to sew, very strong.
Fusible stretch hem tape, no sewing. A heat-activated tape that bonds the fold. Genuinely works for light to mid-weight fabrics and survives 20 to 30 washes. Not strong enough for thick compression fabrics or fleece-lined leggings, and once bonded it is difficult to redo.
What to avoid: a plain straight stitch, cotton thread, and a serger with the wrong settings — an overlocker is excellent for this if you know your machine and produces a puckered mess if the differential feed is wrong.

5 Mistakes That Ruin a Home Hem
1. Not testing on the offcut. Thirty seconds of testing prevents unpicking a stitch from technical fabric, which is tedious and can leave permanent needle marks.
2. Cutting before checking both legs match. Trousers and leggings are frequently a few millimetres different from the factory. Match the original hems, not the waistband.
3. Pulling the fabric through the machine. The most common cause of a wavy, rippled hem. Guide it, do not stretch it.
4. Pressing at too high a temperature. Nylon and elastane blends melt, and the damage is instant and permanent. Low heat, pressing cloth, test on the offcut.
5. Cutting off all the excess. Leave the offcut until the job is finished and you have worn them once. If the hem fails or you cut too short, that strip of matching fabric is the only material available for a repair.
When should you not do it yourself?
Four situations where a tailor is the better call.
Fleece-lined or thick compression leggings. The bulk at the fold is difficult on a domestic machine and the result often ripples.
Anything with a reflective strip, mesh panel, or shaped hem. These need the detail removed and reattached, which is genuinely skilled work.
Expensive pieces. If the leggings cost more than $80, the $20 alteration is cheap insurance. A ruined hem on a premium legging is an expensive lesson.
When the length problem is really a rise problem. If the crotch sits low and the hem is long, shortening the hem will not fix how they feel. That is a fit issue that hemming cannot solve.
One more consideration: hemming reduces resale and return options entirely. Once cut, they are yours. Wear them a few times first to confirm you like them before altering.
With boot season approaching, this is the useful moment to shorten anything that has been bunching at the ankle — a hem that works with a sneaker often needs an inch off to sit cleanly inside a boot shaft.
FAQ: Legging Hemming Questions, Answered
Can I hem leggings without cutting them?
Yes. Fold the excess to the inside and stitch it as a deeper hem, or use hem tape on the fold. This is fully reversible and it is the right approach if you might want the length back or if they are borrowed or resale pieces.
Will the raw edge fray if I do not finish it?
Most knit fabrics do not fray significantly — they roll. Since the raw edge is enclosed inside the fold on a standard hem, it does not need separate finishing for a legging.
How do I fix a wavy hem I have already sewn?
Steam it lightly and let it cool flat under a weight; mild waviness often relaxes. If it persists, the stitching was too tight or the fabric was pulled — unpick, and sew again with a longer stitch length and no tension on the fabric.
TL;DR:
- Straight stitches break on stretch fabric — use a narrow zigzag, twin needle, or built-in stretch stitch.
- Use a ballpoint or stretch needle and polyester thread, never cotton.
- Try them on with the shoes you will wear, cut both legs together with 1 inch of allowance, and test on the offcut first.
- Fusible stretch hem tape is a legitimate no-sew option for lighter fabrics.
Start with a pair you already like but never wear because of the length. Thirty minutes and a zigzag stitch turns a dead pair into your default.
See It in Motion
Seen here: High Waist Yoga Leggings with Side Pockets — shop it on bubblelime.com
Keep Reading
This article is for general informational and styling purposes only. Fit, sizing, and product availability may vary.
